Entering your virtual room
Go to hill.webex.com and choose your portal; EduHill for students and Hill for teachers. The portals are a bit different but work in a similar fashion.
Choose Log In (Hill) or Sign In (EduHill) from your portal:

Use the credentials you got from the sign up. Your username has the format firstname.surname:
Once you are logged in you can open your virtual room by clicking Start Meeting:
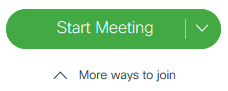
By clicking More ways to join you can view additional information about your room such as the address, meeting number and PIN:

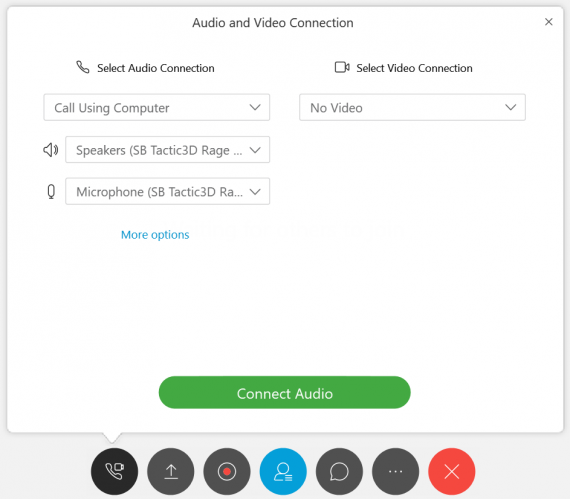
After this the software will launch and open into a separate window. On the first time opening a Hill session you will be prompted to install an add-on. Download and install it. Also allow Java if you are using an older browser. When the session opens first connect your audio by pressing Connect Audio:
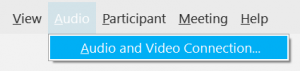
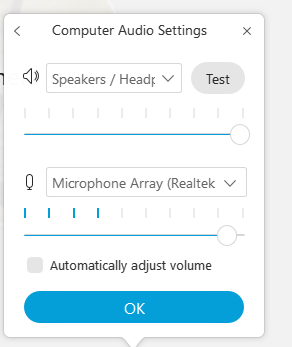
You can access the audio settings via the taskbar Audio -> Audio and Video Connection…:
From the Audio Connection option on the task bar you can choose your input and output sources and adjust the volumes. Change settings will allow you to switch between available sources:
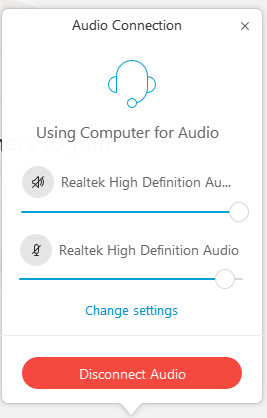
NB! When the Audio Connection window is open other participants cant hear you. By closing the window you can be heard again. Remember to always test the functionality of your devices before a session!
Now you are ready to begin.
In the upper right corner will be participants listed. On the left of the participants name you can see a headset icon which will indicate connected audio devices. On the right side you can close and open your mic from the red microphone button.
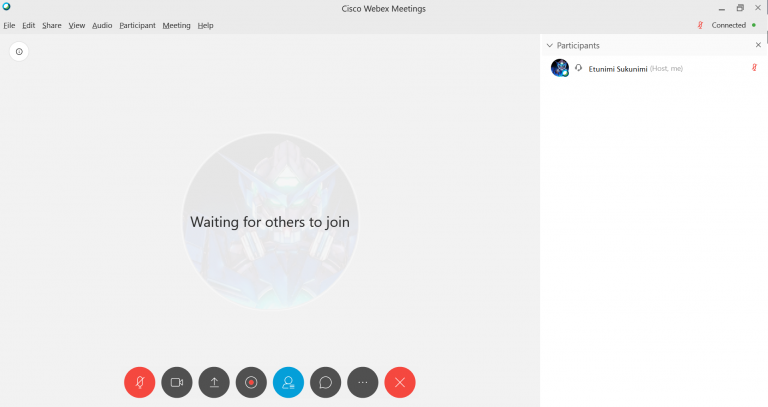
Buttons on the lower screen
From left to right in order:
- Open and close mic
- Open and close webcam
- Share content
- Record session
- Open and close participant list
- Other settings (like lock the session, invite people, audio settings)
- Leave meeting (End if host)
Sharing permissions
By default no one other than the host can share content in the session. The session host can however give the permission to participants either by moving the small ball in the participant list to another user or by right-clicking a participant and choosing Change Role To -> Presenter.
Screen sharing
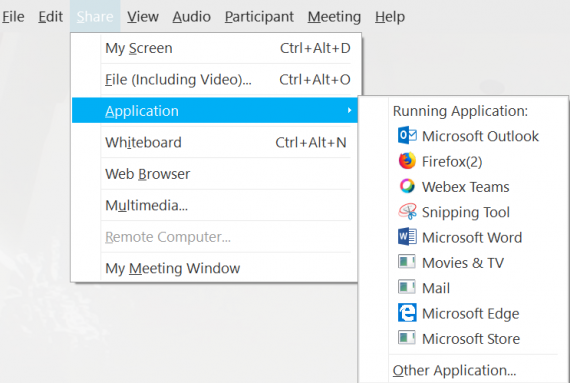
By sharing your screen you can share presentations, sites, videos, practically anything you have on your screen to other participants to view. You can share your screen when you have the share permission either by choosing the third icon from the bottom (Share -> My Screen) or from the taskbar (Share also).
It is always recommended to share your whole screen since if you only share an application and you close it while continuing your presentation the participants cant see anything.
Recommended option for content sharing:
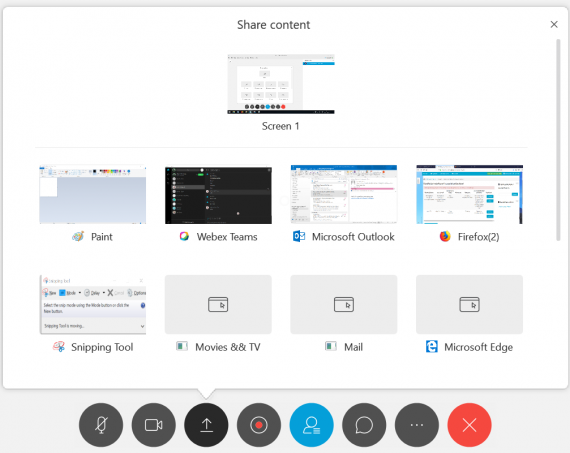
You can also share other available displays and content but Screen 1 is always the best and guaranteed choice.
About audio settings
During the presentation all microphones should be kept closed by the host to minimize background noise which can affect the overall quality of the session.
The host can mute all microphones from the taskbar (Participant -> Mute all). When the host mutes the microphones in the session the participants cannot unmute themselves. The host and only the host in this situation can remove the mute by pressing the Unmute all in the taskbar or by clicking one by one the red mic icons.